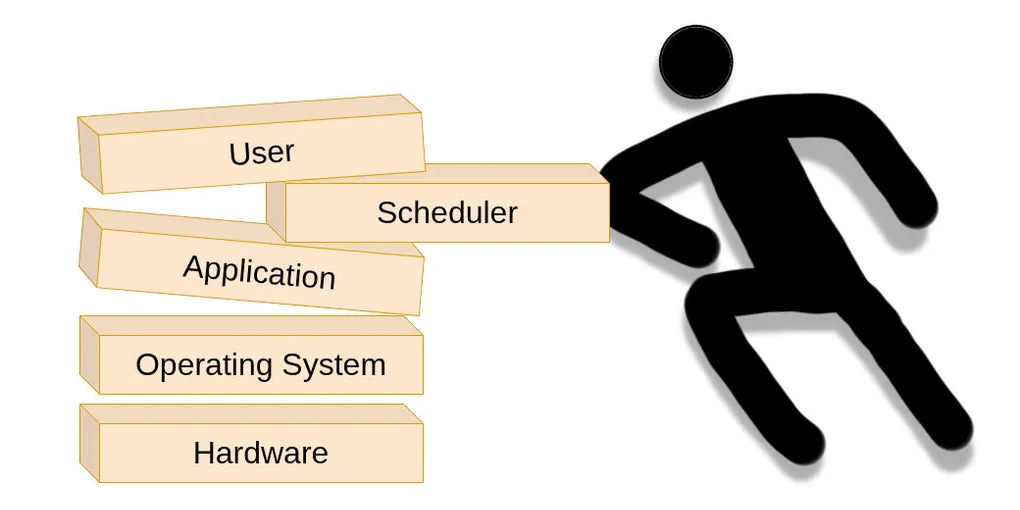
Preemption is an important concept in modern operating systems, especially for real-time uses. Program usually runs many tasks with different priorities. Having the ability to interrupt low priority tasks allows us to create highly responsive programs without having to worry about yielding. Understanding how preemption works can give a developer better insight when debugging a multi-task program.
This post was inspired by the work from FreeRTOS1 on their Linux portable layer. We will showcase how one can simulate preemption on a Linux userspace application using thread signaling mechanisms. Not only will this provide insights on preemption, but it will also give appreciation of the low-level Linux workings.
Why Preemption
Almost all programs we run on the regular consist of multiple tasks running concurrently. While it is possible to interleave multiple tasks into a single one without any multi-tasking support, doing so would have devastating consequences for developer’s mental health. That is why we created a scheduler that manages the interleaving for us. It decides which task should take the CPU time based on task properties(like priority) and current program state. Once it chooses the next task it performs the so called “context switch” where it saves the current task state and swaps it with the next one. But how do we actually swap the tasks? Here we have two approaches: cooperative and preemptive.
Using the cooperative approach we are giving all the freedom to the task. The swapping will happen only when a task give the go ahead. It does this by “yielding” which usually means calling a specific function. Swapping like this is easy to implement because tasks always stop in a known state. You can try to do it yourself. Just create an array of functions that will signify tasks, and a state machine that will represent the scheduler state. Then in the yield function you can choose the next task by changing the state.
On the other hand, in the preemptive approach we don’t trust the tasks. Any one of them could be a double agent trying to ruin our program’s execution, in other words, they don’t want to cooperate. So instead of letting the tasks choose when to exit, we choose it for them. We do this by interrupting the task while it is still executing. Because we don’t know which task is a double agent, before we switch to the next one, we have to save the previous task state so we can restore it later. Obviously this is much more difficult to implement than cooperative scheduling, but the trade-off is that we don’t have to yield our tasks(if we don’t want to) and we don’t have to worry about double agents.
Preemption on Linux
We are focusing on, at the time of writing, the latest Linux version v7.12.
The Linux scheduler is modular.
It allows defining scheduler algorithm for each scheduling class where each class can schedule a different process.
Linux defines six scheduler classes in the following priority order: stop, deadline, real-time, fair, external, and idle.
Each scheduler class defines a specific scheduling algorithm.
Stop class is used internally by the kernel for stopping the CPU, it is irrelevant for us.
Deadline class uses the Earliest Deadline First (EDF) for scheduling that is combined with Constant Bandwidth Server (CBS) for assigning scheduling deadlines.
Real-time class uses a priority-based scheduling algorithm.
Fair class used to use Completely Fair Scheduler (CFS) but has switched to Earliest Eligible Virtual Deadline First (EEVDF).
External class allows implementing custom scheduling policies at runtime using eBPF, no kernel recompile required.
IDLE is the lowest priority scheduler class, it is used to suspend the CPU when there are no tasks available.
There are also scheduler policies that further modify how a particular scheduler class behaves.
For example, both SCHED_RR and SCHED_FIFO use the real-time scheduler class, but SCHED_RR also includes time-slicing.
Linux allows for user space preemption all the way to (almost) full kernel preemption. It defines six different preemption models, they are: none, voluntary, preempted, lazy, and real-time. None will disable forced preemption within the kernel, increasing the kernel throughput but decreasing overall latency. This option is typically employed is server applications. Voluntary also has disabled forced preemption but it includes more voluntary preemption points to increase the overall latency at the cost of kernel throughput. The preempted model, as the name suggests, enables forced kernel preemption except for critical code sections. Lazy model tries to be an option between full preemption and voluntary preemption by being less eager to preempt tasks with the default scheduler policy. Finally, the real-time model also uses forced preemption but it also deploys measures that allow for even more fine-grained preemption. For example, it replaces various kernel locking primitives with preemptible variants, enforces handling of interrupts by kernel threads, and cutting up long non-preemptible sections. It makes the kernel latency deterministic by reducing sources of unbounded latency. Linux also has an option to set the preemption model at boot using the dynamic preemption option.
Linux Signals
Linux signals are a form of inter-process communication.
They allow sending asynchronous notification to tasks, where each task can be a thread or a process.
Each task can choose to block a signal, which means the signal can be queued but will not be delivered until its unblocked.
Some common signals include SIGKILL for immediately killing a process, SIGINT for interrupting typically via keyboard, and SIGSEGV :’(.
Every standard signal has a disposition which determines its default behavior on signal reception.
Once a signal is sent, it is placed in the list of pending signals for the given task.
They will stay pending until there is a transition from kernel-mode to user-mode execution.
At that point the kernel checks for pending signals that can be handled.
If the signal was sent to the thread then that thread will have to handle it, but if it is sent to the process then any eligible thread within the process can handle it.
Once a thread is chosen its context gets saved and the signal handler is executed.
Returning from the signal handler restores the context and the thread resumes executing at the point of interrupt with the exception of some system calls which give EINTR.
Simulating Preemption
In order to simulate preemption we need a couple of elements. We need a way to interrupt a specific thread. Once the thread is interrupted, we also need a way to stop a thread and save its context. And finally, we need a way to resume the thread and its context such that it can continue executing where it left off without issues. Going back to the previous section, we can see signals cover a lot of these requirements. They allow us to interrupt a specific thread, save its context, and restore it later. But they don’t cover everything. While signals allow storing the thread context, they only store it for the duration of the signal handler. They don’t provide a mechanism for storing the context indefinitely. We need one more piece of the puzzle.
So we can store the thread context, but as soon as the thread finishes the signal handler, the context is restored. Could we maybe stop the thread from leaving the handler? As long as the thread doesn’t leave the handler, the context will be stored. Makes sense? Good. Now, we just need to decide how are we going to stop the thread from leaving. We have many options to choose from. There are atomics, semaphores, mutexes, rwlocks, queues, events, and much more. We will select mutexes as they the most popular and they have the added benefit of playing nice with signals so it simplifies the implementation. If we look at the POSIX spec3 for mutexes and conditional variables we can see the following.
If a signal is delivered to a thread waiting for a mutex, upon return from the signal handler the thread shall resume waiting for the mutex as if it was not interrupted.
Meaning we can just have the thread wait for a condition inside the signal handler without having to worry about interruptions. We have all of our pieces, now lets see how that looks in practice.
Implementation
We will not be going through every piece of implementation but we will show the most important parts. Obviously, the implementation shown will be only one of many. It doesn’t strive for anything but readability.
Let’s first start with the structure we will be using through the implementation. It defines all the important parts, the thread itself, and its synchronization variables for the signal handler.
typedef struct { pthread_t thread; pthread_mutex_t mutex; pthread_cond_t cond; bool triggered;} thread_t;As we said before, we are using mutexes together with condition variables. They will allow us to keep the context while we are in the signal handler. Next up is the signal handler itself. This will be the function that is called every time we invoke our signal. We must set it up before initializing any threads as the signal handler will be inherited from the process for every thread created after.
void signalHandler() { // Here you can do whatever you want}
void setupSignalHandler() { struct sigaction sigtick; sigtick.sa_flags = 0; sigtick.sa_handler = signalHandler; sigfillset(&sigtick.sa_mask); sigaction(SIGALRM, &sigtick, NULL);}Here we are configuring our process to handle the SIGALRM with the specified handler.
We could have chosen almost any other signal, but, as you will see, SIGALRM will simplify the implementation.
Notice that we are using sigaction instead of signal.
The POSIX standard specifically mentions that sigaction should be preferred, and the Linux manual specifically warns about using signal in multi-threaded applications.
One should be careful about writing the signal handler as you can only use a subset of standard functions, for example, non-reentrant functions are usually unsafe.
Check out the signal-safety manual page for more details.
Another important detail to note is the sa_mask.
We have configured it to block all possible signals while the handler is executing.
While it is not strictly necessary, it does give us a bit more flexibility when writing the signal handler.
Now that the handler is configured, we can create our threads. This part is really simple, we just need to initialize the structure variables.
void setupThread(thread_t *t, void *(*function)(void *)) { pthread_create(&t->thread, NULL, function, NULL); pthread_mutex_init(&t->mutex, NULL); pthread_cond_init(&t->cond, NULL); t->triggered = false;}So now we have created our signal handler and created the threads that will inherit the handler.
Next up is the interrupt.
Here we have a few choices.
For example, we can choose to cause interrupt on specific events, or we can cause interrupts periodically.
We can also combine the two approaches, but be careful because for standard signals (like SIGALRM) you cannot have multiple pending signals of the same type.
For simplicity we will select periodic interrupts.
void startInterrupts() { struct itimerval tm; tm.it_value.tv_sec = 0; tm.it_value.tv_usec = 1000; tm.it_interval.tv_sec = 0; tm.it_interval.tv_usec = 1000; setitimer(ITIMER_REAL, &tm, NULL);}Now, we didn’t have to use setitimer.
We could have used the newer timer_create/timer_settime as it is recommended by POSIX standard, but we do prefer the readability of this interface.
For our use it shouldn’t matter, unlike with signal.
Also, in case we didn’t want to go for periodic interrupt, we can easily utilize methods like raise or kill to target any thread, or pthread_kill for a specific thread.
We have the signal handler, threads, and we have the interrupt (signal trigger). All that is left is context saving. To save the context we will use the mutex and condition variable from the structure we defined at the start.
void waitThread(thread_t *t) { pthread_mutex_lock(&t->mutex); while (t->triggered == false) { pthread_cond_wait(&t->cond, &t->mutex); } t->triggered = false; pthread_mutex_unlock(&t->mutex);}
void resumeThread(thread_t *t) { pthread_mutex_lock(&t->mutex); t->triggered = true; pthread_cond_signal(&t->cond); pthread_mutex_unlock(&t->mutex);}In order to save the context we call the wait function with the thread executing the signal handler. At that point the thread will wait until someone signals it can resume. In other words, we can choose when we want to resume the thread and restore the context.
This is all we need to simulate preemption. Let’s look at a simple example showing how we can exploit this to perform thread swapping.
// Global state functionsextern thread_t *get_current_thread();extern thread_t *get_next_thread();
void swap_threads() { thread_t *current = get_current_thread(); resumeThread(get_next_thread()); waitThread(current);}This would be a simple example of a function that will swap threads from the signal handler. First we unblock the next thread by setting a variable and sending a signal, and only after we block the current thread. With this function we are violating the signal handler safety guidelines because this function is not reentrant. We can still get away with it if we ensure that we are the only ones modifying the global state. Of course we had to define two extra function that give us the current and next thread. The current thread must be the thread currently executing the signal handler, while the next can be any blocked thread.
With all of this we have the basic elements to create scheduling of threads inside the process. For example, we could have a tiered list of pending threads and just rotate them in the signal handler. Basically getting priority based scheduling all inside user space. But keep in mind this is all on top of the real kernel scheduler so you can’t use it for real-time purposes.
Finally, I want to mention that the swap_threads will only work if you block the threads at startup.
You can do this easily by inserting a wait function before executing any thread code.
// Global state functionextern thread_t *get_self();
void *threadFunction(void *arg) { thread_t *me = get_self(); waitThread(me); // thread code ... // or `return me->function(arg);`}Of course this can be improved by having the same initial thread function that then calls a specific one saved in the thread_t structure.
Conclusion
I like showing these kinds of tricks gives as they give people better understanding of the principles underlying the Linux kernel. Please don’t use this in production.